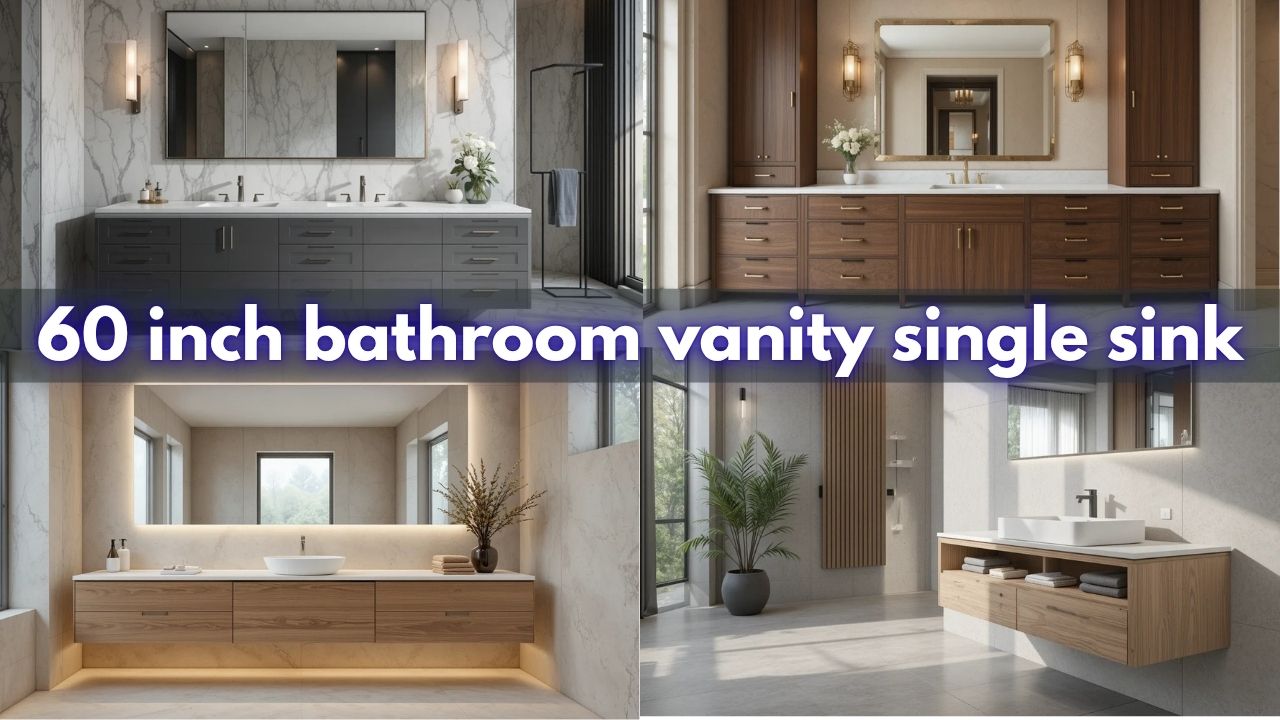
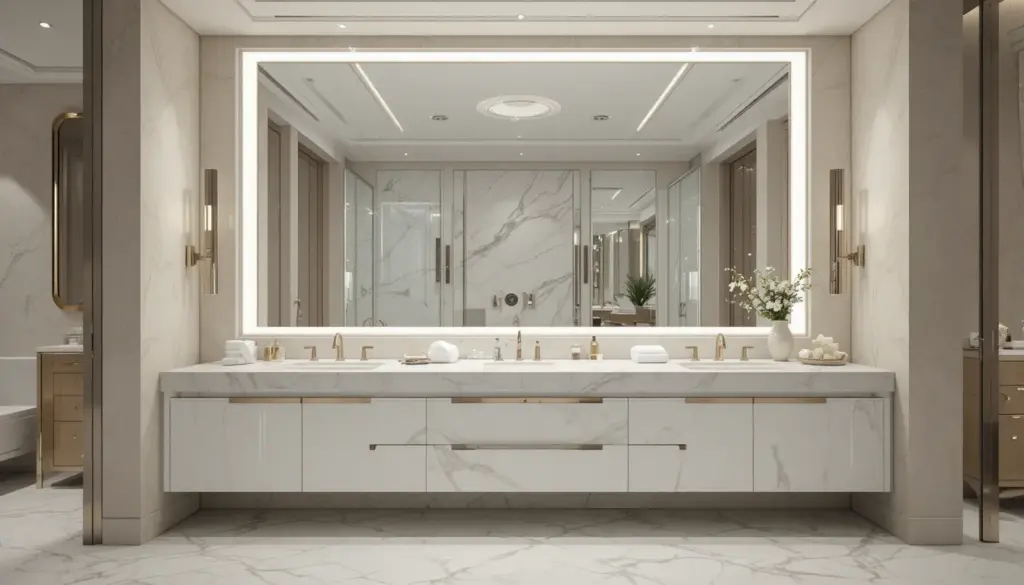
You know the feeling when you walk into a high-end hotel bathroom and suddenly feel like a royal? That’s the dream we’re chasing today. If you want to ditch the “builder-grade” blues and upgrade to a 60 inch bathroom vanity single sink, you’ve come to the right place. Most people think a 60-inch space must have two sinks, but I’m here to tell you that’s a rookie mistake if you actually value your counter space.
I’ve seen too many people cram two sinks into a 60-inch top only to realize they have nowhere to put their toothbrush, hair straightener, or that fancy 12-step skincare routine. Choosing a single sink for a large vanity is a total power move for luxury and functionality. Let’s get into how you can make this centerpiece the envy of everyone who uses your guest towels.
Why 60 Inches is the Luxury Sweet Spot
When you move up to a 60-inch vanity, you’re entering the world of primary bathroom statements. This size offers more length, more storage, and—most importantly—more personal space. I personally love this width because it anchors a large bathroom without looking like you just shoved a piece of furniture into a gap.
- Massive Counter Space: A single sink on a 60-inch top gives you nearly four feet of landing space.
- Storage Galore: You can fit between 6 to 8 drawers in a balanced setup.
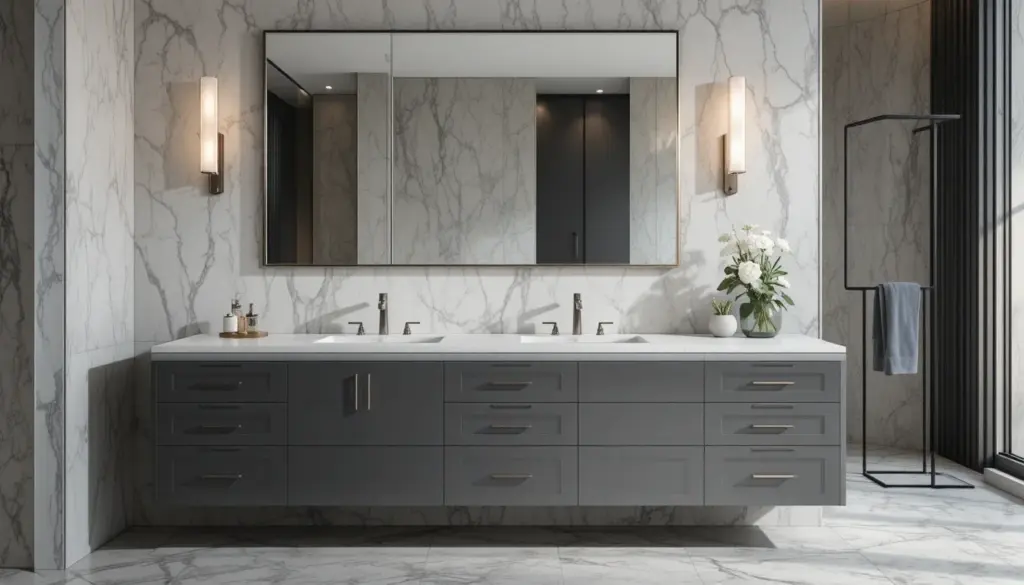
- Visual Impact: A single sink allows the material of your countertop to really shine.
Unless you and your partner literally brush your teeth at the exact same second every single morning, one generous sink usually beats two cramped ones. I once tried to share a dual sink with my spouse in a tight 60-inch setup, and we spent more time bumping elbows than actually getting ready.
Another ideas :
The Secret Luxury of the Single Sink
Let’s talk about the single sink “statement” look. When you center one sink on a five-foot vanity, you create an air of intentional design. It says you don’t need to follow the “dual sink” herd. Plus, you get deeper drawer stacks because the plumbing only eats up one section of the cabinet.
If your plumbing exits from a specific side of the wall, you can even go for an offset sink.
- Right Offset: Puts the sink on the right, giving you a huge workspace on the left.
- Left Offset: Puts the sink on the left, which is great if you have a shower or wall on that side and need more elbow room.
I find that offset designs often increase usable storage by 15–25% compared to centered basins. It’s a total game-changer for organizing hair tools and towels.
Choosing Your Style: Modern vs. Traditional
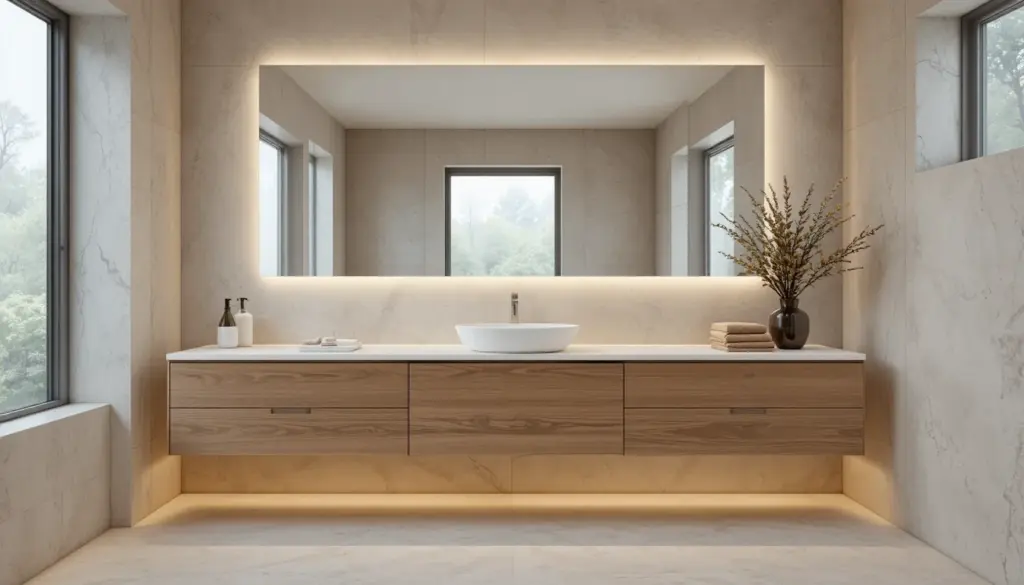
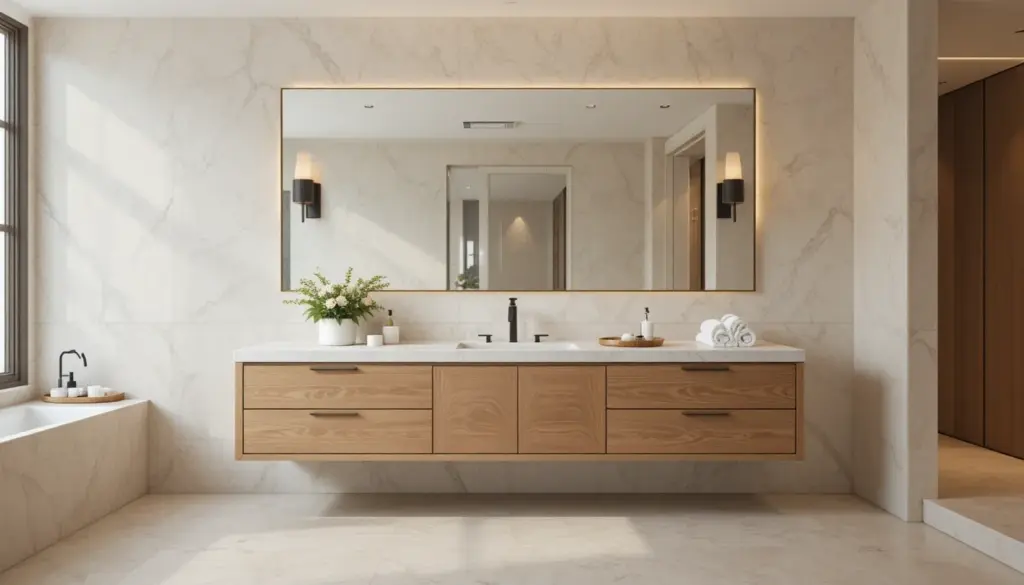
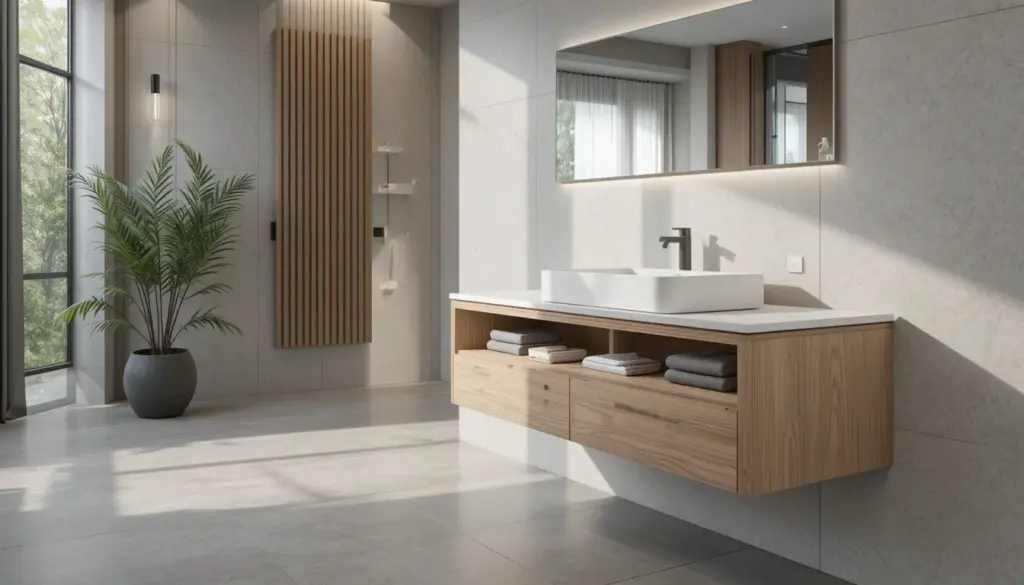
Your vanity sets the vibe for the whole room. If you want that sleek, hotel-spa aesthetic, a floating vanity is your best friend. It mounts directly to the wall, leaving the floor visible underneath. This makes the room feel massive because light can bounce off the floor.
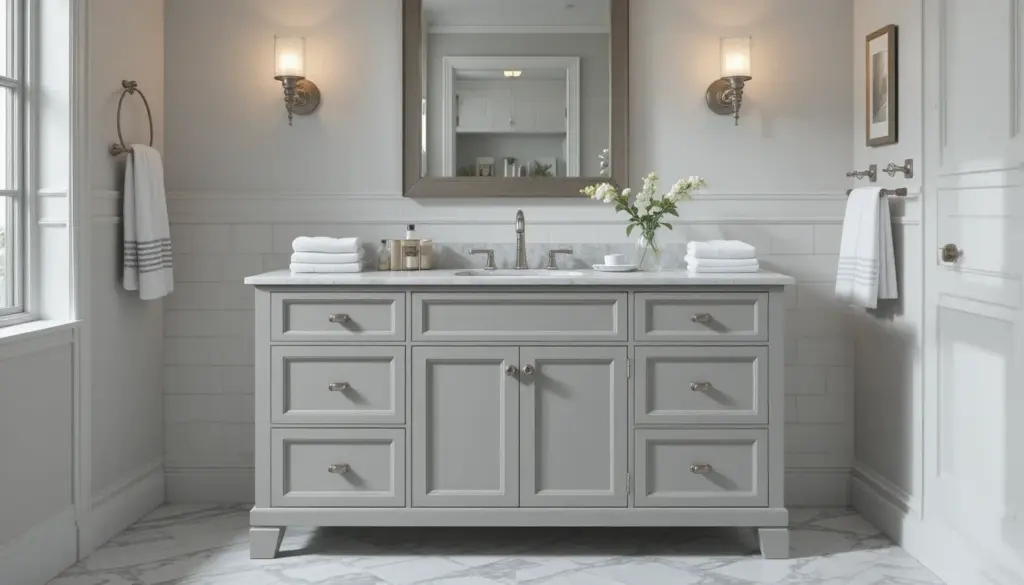
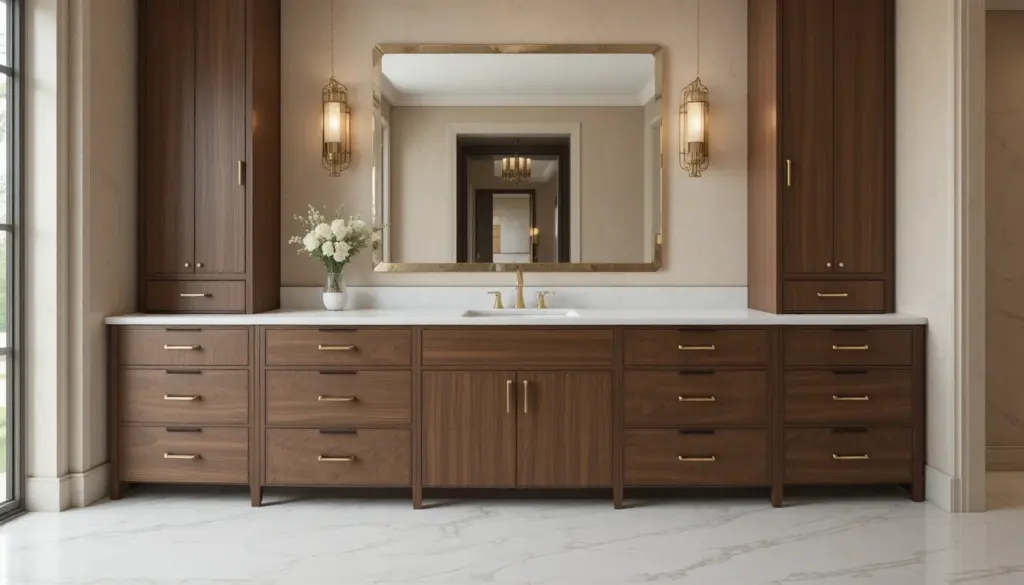
However, if you’re like me and own way too many bathroom products, a freestanding vanity might be better. These rest fully on the floor and usually offer more enclosed storage.
- Modern Style: Look for flat-panel doors and integrated handles.
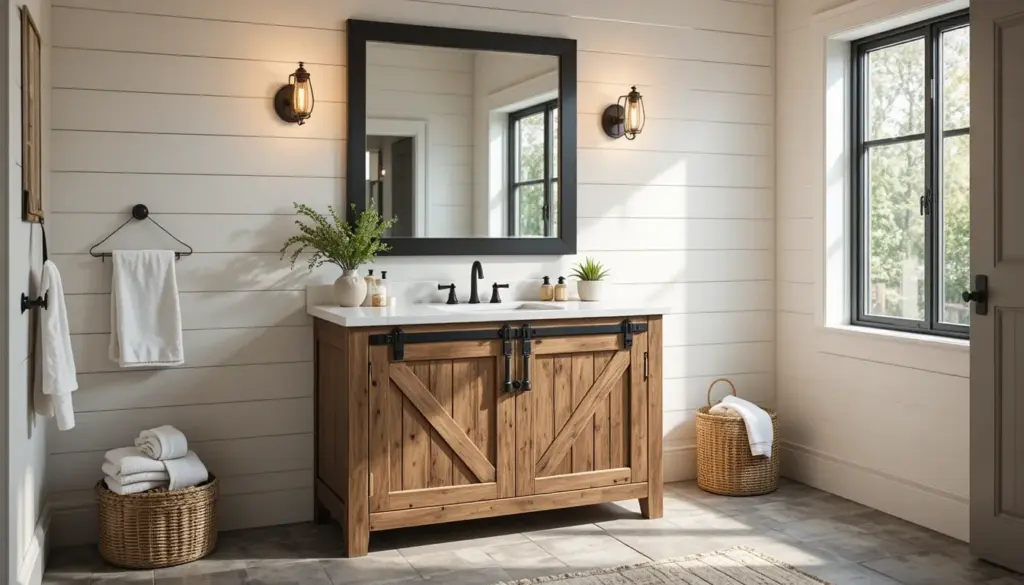
- Farmhouse Style: Go for sliding barn doors or rustic brown finishes for a cozy feel.
- Transitional Style: This is the “safe” bet that blends classic Shaker-style doors with modern hardware.
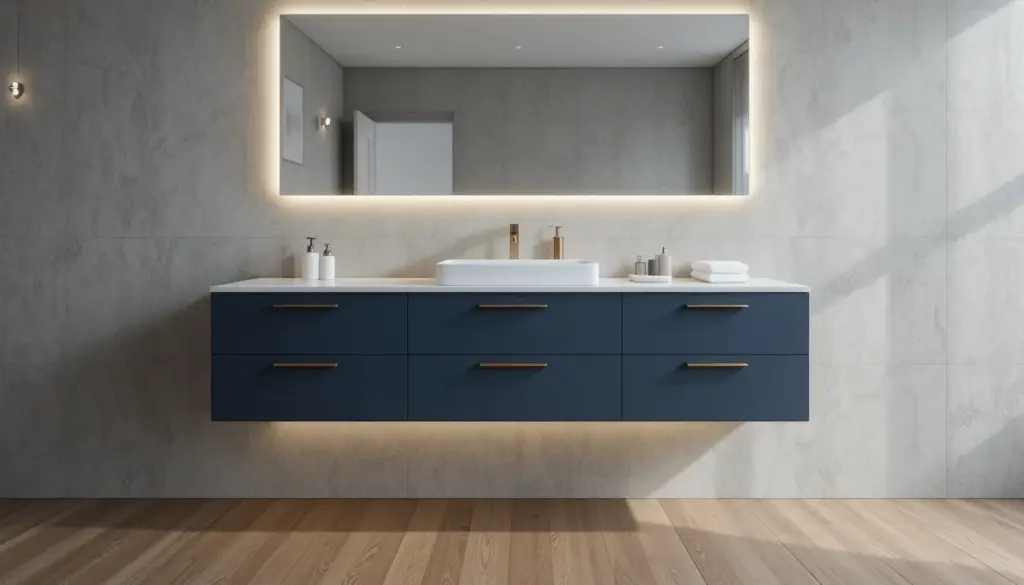
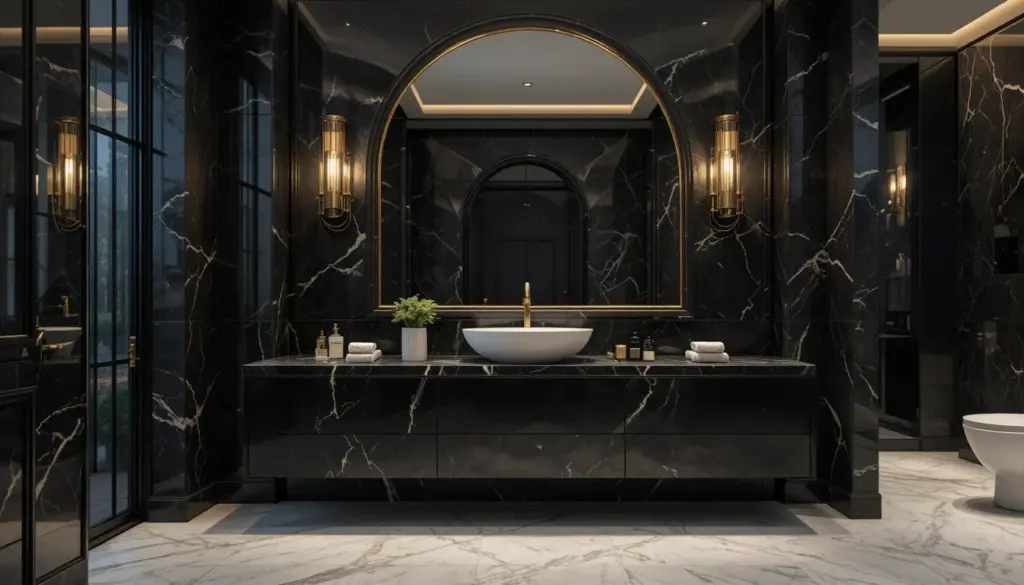
I once installed a navy blue vanity with brushed gold hardware, and it immediately felt like a boutique apartment. Bold colors like navy, emerald, or black are huge trends for 2026.
SHOP HERE:
Materials That Won’t Rot in Two Years
Please, for the love of your wallet, don’t buy a vanity made of cheap MDF for a high-humidity bathroom. Standard MDF acts like a sponge, absorbs moisture, and swells up until your drawers won’t close. If you’re going for luxury, you want marine-grade plywood or solid wood like white oak or teak.
- Plywood: The cross-grained layers make it super stable and nearly eliminate warping.
- Solid Wood: It offers beautiful grain but requires a moisture-cured sealer every few years.
- Quartz vs. Marble: Quartz is the king of low-maintenance luxury because it resists stains and scratches. Marble is gorgeous but demands a lot of “TLC” to avoid staining.
I’ve seen beautiful solid wood vanities fail simply because the owner skipped the sealant. Don’t be that person. Invest in quality materials that can handle your steamy showers.
Measuring Like a Pro (So You Don’t Cry Later)
I’ve heard horror stories of people buying a 60-inch vanity only to find it blocks the bathroom door. Sizing is a math problem first, a style problem second. You need to account for more than just the wall width.
- The Overhang Rule: Most countertops extend about half an inch past the cabinet box. Measure for the widest part, which is usually the top.
- The Clearance Lane: You need at least 30 inches of floor space in front of the vanity to move comfortably.
- Door Swing: Open every door in the room to make sure they don’t smack your new expensive centerpiece.
- Plumbing Check: Make sure your drain line doesn’t land right where a drawer is supposed to be.
I always suggest using painter’s tape on the floor to map out the vanity’s footprint before you order. It sounds nerdy, but it’ll save you from a major headache.
Storage Wars: Drawers vs. Doors
Storage is where the luxury actually happens in your daily life. Drawers offer better organization for small items like makeup and toothbrushes. You can just pull them out and see everything without kneeling on the cold tile.
- Drawers: Best for staying organized and providing a polished look.
- Doors: Better for storing tall bottles or extra rolls of toilet paper.
- Soft-Close Magic: Always look for soft-close hinges and slides. Nothing ruins a “luxury” vibe like a drawer slamming shut and waking up the whole house.
I personally prefer a mix. Give me two big cabinet doors for my hairdryer and a stack of drawers for everything else.
The Finishing Touches: Mirrors and Lighting
A 60-inch vanity needs a mirror that actually fits the scale. The simplest rule? Your mirror should be 2 to 4 inches narrower than the vanity. For a 60-inch setup, I usually go for a mirror between 54 and 58 inches wide.
For lighting, skip the overhead “interrogation” light. Sconces on either side of the mirror provide the most flattering, shadow-free light for your face. If you’re going for that moody, high-end look, choose warm, layered light instead of cold blue-white bulbs.
Installation Hacks for the DIY Brave
If you’re tackling the install yourself, remember that vanity tops are fragile. Never carry them flat; always carry them on their side to avoid snapping the stone.
- Level is King: If your floor isn’t flat, use wooden shims or adjust the leveling feet to get it perfect.
- Wall Studs: You must secure the cabinet to at least two wall studs using lag bolts.
- Sealant: Use siliconized acrylic caulk to secure the top. Avoid 100% silicone on some finishes as it can damage them.
I once forgot to check if the vanity was plumb against the wall before screwing it in, and the gap drove me crazy for months. Learn from my mistakes!
Keeping Your Luxury Looking New
Luxury isn’t just about the purchase; it’s about the maintenance.
- Ventilation: Run your exhaust fan for 30 minutes after every shower.
- Stone Care: If you have a marble or granite top, apply a stone sealer once or twice a year to prevent stains.
- Hardware: Wipe down gold or brass hardware to prevent water spots from ruining the shine.
Final Thoughts
Upgrading to a 60-inch single sink vanity is the best way to bring that “big sink energy” into your home. You get all the counter space in the world, more storage than you’ll know what to do with, and a look that screams high-end design.
Just remember to measure twice, choose moisture-resistant materials, and don’t skimp on the soft-close drawers. Now, go forth and build the bathroom sanctuary you deserve. Your future self—the one not fighting for elbow room—will thank you.